Debugging AWS Lambda Functions: .NET 6, Visual Studio, AWS Toolkit
Debugging cloud functions seems a lot easier with Azure :)
I haven’t had a ton of experience developing/debugging serverless functions (Azure Functions / AWS Lambdas). But I recall my experience with Azure Functions in the .NET world being relatively pleasant and straightforward. That’s probably natural given Microsoft is going to invest heavily in the tooling/ecosystem that interacts with their cloud platform.
However, recently I started taking on some work involving AWS, and naively I thought: “Surely local development & testing of AWS Lambdas is comparable to the Azure experience.” So far, it’s been a little painful. Granted, I should be thankful that tooling exists at all for the average .NET developer using Visual Studio.
Alas, after piecing together various blog posts & GitHubs, I finally was able to debug a .NET 6 AWS Function using the out-of-the-box tooling for Visual Studio, which includes using the AWS .NET Core 6.0 Mock Lambda Test Tool.
Here are the steps I took using the following
Visual Studio 2022
AWS Toolkit for VS 2022
.NET 6
Install AWS Toolkit
Using Visual Studio 2022, install the AWS Toolkit extension
After installing and restarting Visual Studio, you’ll be prompted by a screen to enter your AWS credentials. This is probably necessary if you want to do other things with the AWS Toolkit in the actual AWS cloud environment later, but it is not required for this exercise.
Create Lambda Project
Next, create an AWS Lambda project using the newly added “AWS Lambda Project (.NET Core - C#)” template.
Don’t be thrown off by the “.NET Core” reference. Remember, we are using .NET 6. We will address that shortly.
Next, give your project a name and click Create.
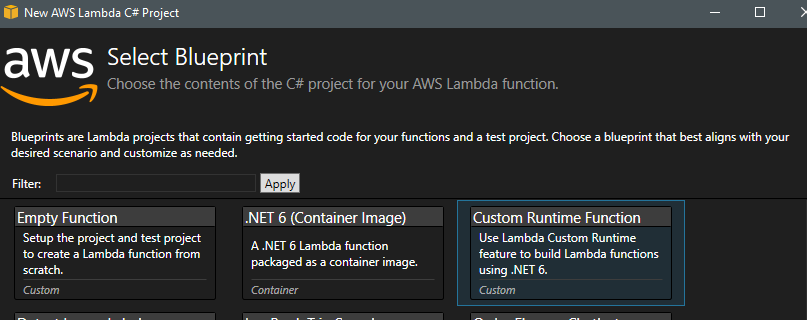
Now we will configure which type of AWS project template to use, as well as select the .NET runtime.
Be sure to select the “Custom Runtime Function” option. You’ll notice that it uses .NET 6. Custom Runtimes are an interesting topic, and I won’t pretend to know all the details. But know for now that this is the option you need to choose to get your Lambda working with .NET 6.

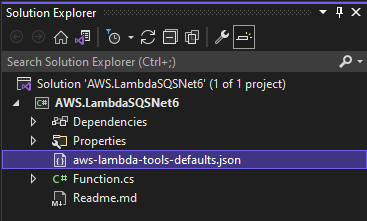
After clicking Finish, your project will look like this, minus the Properties folder which we will add shortly.
At this point you will not be able to hit F5 and debug the project. We’ll need to add a few things to make that happen.
Install Lambda Test Tool
Now we need to install the correct version of the Lambda Test Tool. The default version that gets installed with Visual Studio (at the time of writing) is targeted to .NET Core 3.1. To install the .NET 6 version, open a new terminal and enter the following:
dotnet tool install -g Amazon.Lambda.TestTool-6.0 Next, we need to add a Properties folder in the root of the project. Inside this folder we also need to add a launchSettings.json file with the following contents:
{
  "profiles": {
    "Mock Lambda Test Tool": {
      "commandName": "Executable",
      "commandLineArgs": "--port 5050",
      "workingDirectory": ".\\bin\\$(Configuration)\\netcoreapp6.0",
      "executablePath": "%USERPROFILE%\\.dotnet\\tools\\dotnet-lambda-test-tool-6.0.exe"
    }
  }
}
Note: This is the same configuration you’ll find in a .NET Core 3.1 Lambda project. The only difference being that we replaced “3.1” with “6.0” in “workingDirectory” and “exectuablePath.”
Configure Lambda Project Settings
Ok, we’re almost there! The last setup step is to ensure your aws-lambd-tools-defaults.json file references the correct entry point method designated in the function-handler JSON property.
The format is this
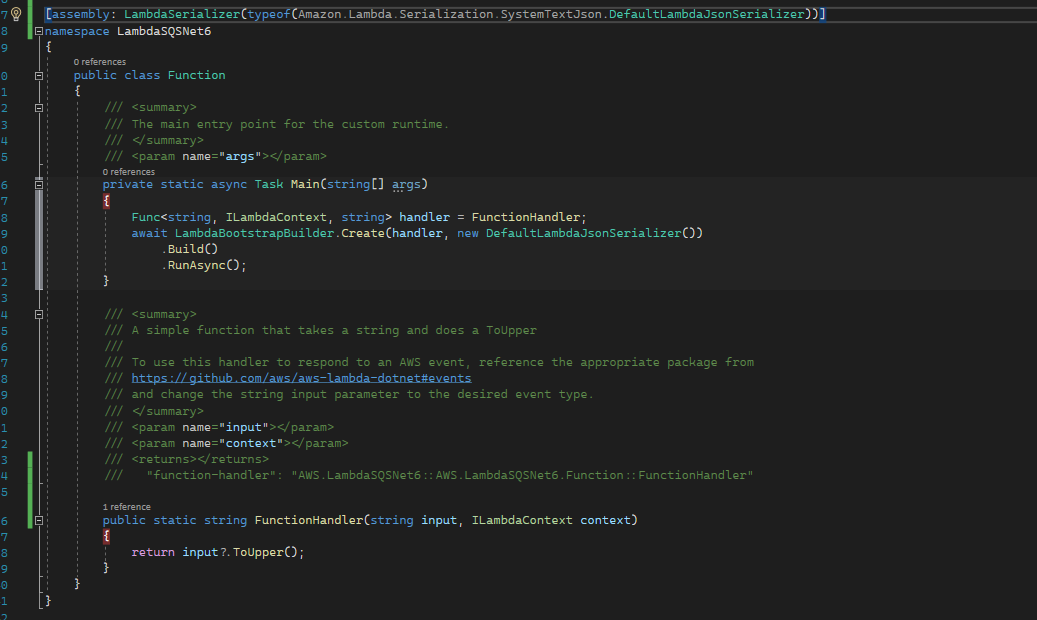
Assembly::Class::MethodName Here is what my Function.cs looks like. So my function-handler value should be “bootstrap::LambdaSQSNet6.Function::FunctionHandler”

Main method entry point here. This does not impact this simple debugging scenario unless you have some additional logic you want to introduce at startup (i.e., Dependency Injection). I will write more later on possible workarounds and implications for this.Finally, it’s important to note the Assembly Name referenced in the .csproj file. The default value here will be “bootstrap.” Do not change this.
When AWS invokes your Lambda instance, it looks for an executable called “bootstrap.”
Test The Project
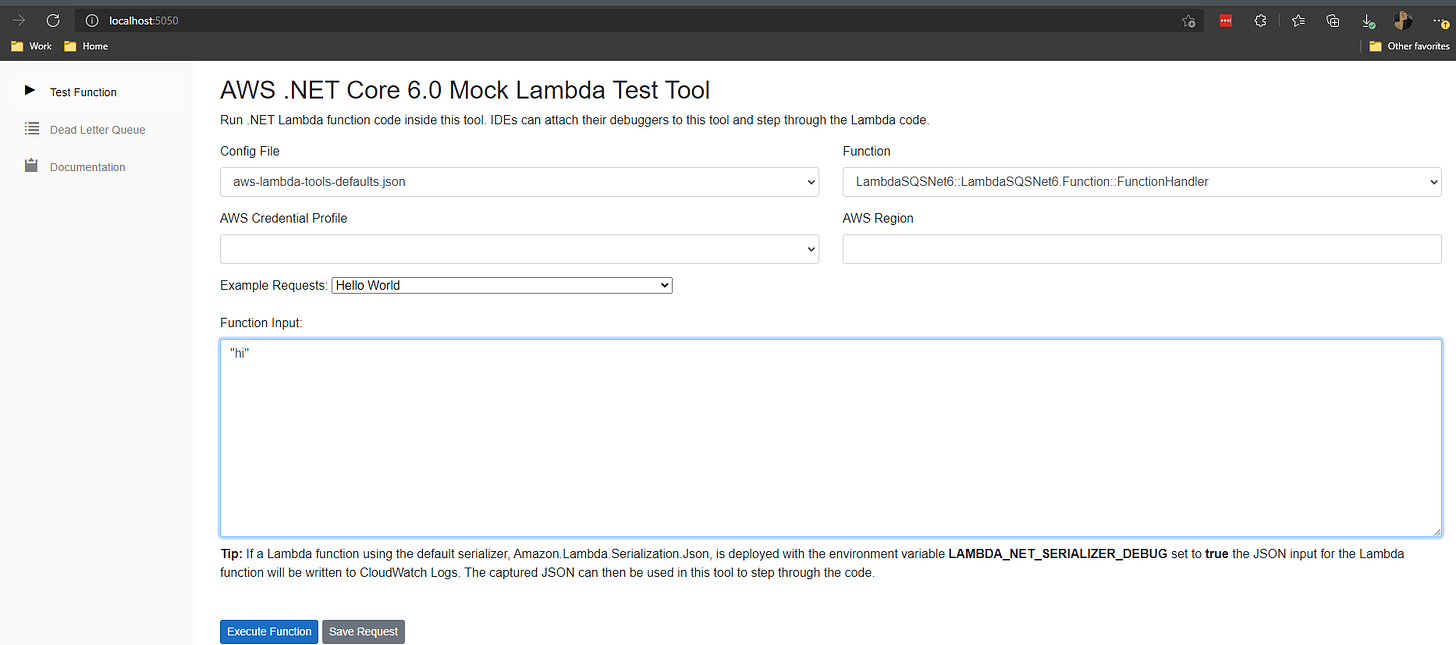
You should now be able to hit F5 and debug the project, which will launch a tab in your web browser opening up the tool.

We can keep all the defaults on this page, passing in a simple string as the payload, which is what our Lambda accepts. If everything was set up correctly, you should be able to click Execute Function, hit breakpoints, and see the value returned from the Lambda function in the browser.
Hopefully my next post will be about how to get all this wired up using LocalStack with SNS and SQS.


